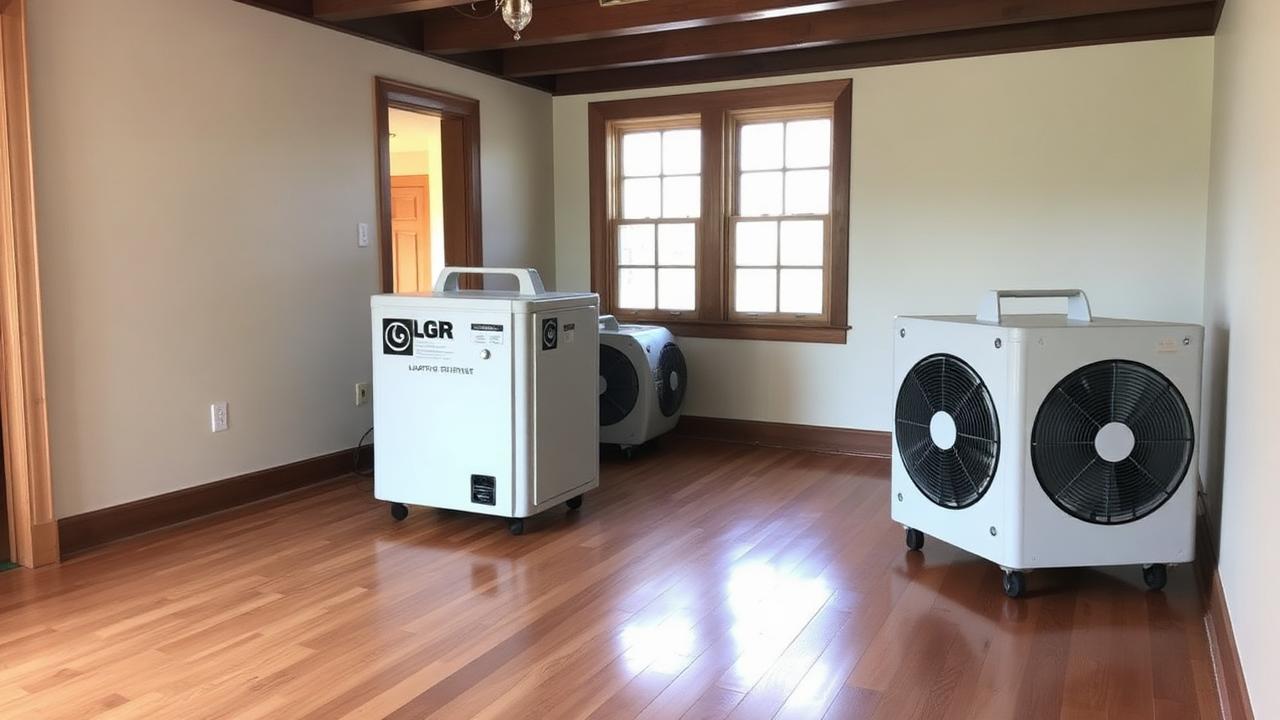
A drying chamber is a temporary containment that shrinks the volume of air you have to dehumidify. On large-loss commercial jobs, or on residential losses where only one room is affected in a large open-plan home, chambering can cut your equipment count substantially and your drying time by days. Here's how to build one that satisfies the S500.
When to Chamber
- Affected area is a small fraction of the total conditioned volume
- You need to prevent secondary damage in adjacent unaffected areas
- Cat 2 or Cat 3 loss where containment is required regardless
- High-value contents in the unaffected zone need protection from humidity swings
Materials You'll Need
- 6-mil poly (fire-retardant preferred), enough to enclose the affected volume with 15% overage
- Zip-poles or spring poles to tension the poly against ceiling and floor
- Tuck tape or equivalent poly-to-poly seam tape
- Zippered doorway (Zipwall or equivalent) for tech entry/exit
- HEPA-filtered air scrubber to establish and maintain negative pressure
- Manometer or magnehelic gauge to verify pressure differential
Sizing the Chamber
Keep the chamber as tight to the affected surfaces as practical — every extra cubic foot of air is more moisture load to remove. A good rule: build the chamber 2–3 ft off the last row of affected material. Leave enough space for air movers to circulate and techs to work safely.
Establish Negative Pressure
Per S500, containment during dryout should hold at least -5 Pa relative to adjacent unaffected space. This is what prevents cross-contamination in Cat 2/3 work and keeps humidified air from bleeding into other rooms. Route the air scrubber's HEPA exhaust outside the chamber (through a window, into the unaffected space with the exhaust filter installed, or to exterior via ducting). Verify with a manometer; adjust CFM of the AFD until you hit the target.
Equipment Inside the Chamber
- Air movers positioned per S500 (one per 10–16 LF of affected wall, depending on class)
- At least one LGR dehumidifier sized for the chamber's cubic footage — not the whole house
- Thermo-hygrometer inside the chamber, logging every 15 minutes if possible
- External thermo-hygrometer in the unaffected space for comparison
What the Log Should Show
A chambered environment should drop GPP and RH inside faster than the ambient outside because the volume is smaller and dehumidification is concentrated. If your inside readings aren't diverging from ambient by the next visit, check for seal breaches — most commonly around HVAC returns, door frames, and where the poly meets textured ceilings.
Documentation Adjusters Expect
- Photos of the chamber from outside and inside
- Sketch showing chamber boundaries with dimensions
- Manometer readings logged with time stamps
- Equipment count justification (chamber ft³ vs whole-structure ft³)
- Poly LF/SF billed as line item (WTR CON)
See our pricing guide for how to itemize chamber setup.
When Not to Chamber
Small residential losses (a bathroom, a kitchen island) where you'd spend 4 hours building a chamber to save 1 dehu-day of equipment. Do the math — labor to erect containment isn't free.
Chambering is one of those techniques the S500 mentions in passing but experience teaches you to love. If you're preparing for the WRT exam, drill containment strategy in our Drying Principles topic quiz.
Test yourself
The quickest way to find out whether this stuck is to answer questions on it cold. Answer the questions before you look anything up — the gap between what you can recall and what you can recognise is the gap that shows up on exam day.
New study material by email
New study guides, tools and practice questions, sent as they are published.
No spam. Unsubscribe anytime.
Related Articles

Ready to Pass the WRT Exam?
300+ practice questions, psychrometric calculators for drying, and study modules built by restoration pros.
Need the standard itself? Purchase the ANSI/IICRC S500 →