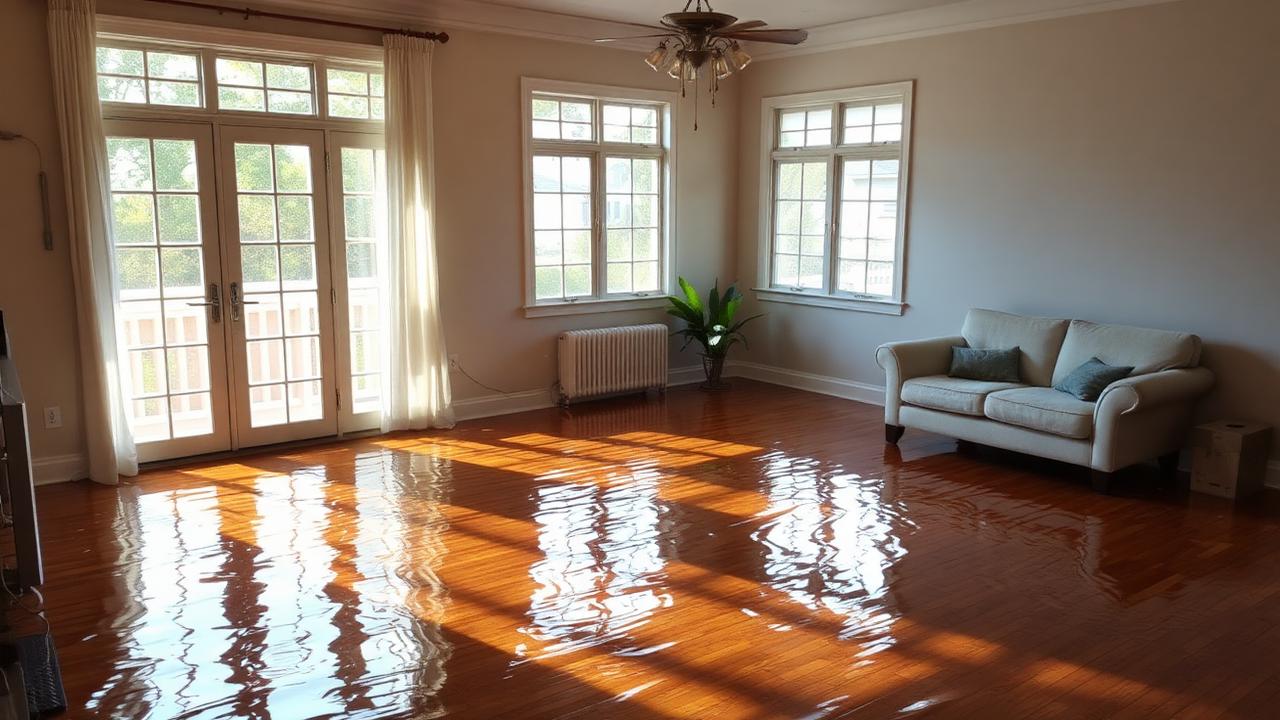
Class is the question of how much water the building has taken on and how quickly it will give it back. It is not a contamination judgement — that is category — and mixing the two is the single most common mistake on both the exam and the first page of a job file.
What is Class 3 water damage?
Class 3 is the classification used when the largest share of the room's surfaces and materials are wet and the evaporation load is correspondingly high. In practice it is the loss where water arrived from above: a failed supply line on an upper floor, an overflowing fixture, a roof breach during a storm. Ceilings, walls, insulation, contents and flooring are all in play at once.
The full definitions of every class, and how they sit alongside the categories, are set out in the water damage categories and classes guide. Read class as a statement about drying workload, and category as a statement about what is in the water.
How is Class 3 different from Class 2?
The difference is how much of the room is contributing water to the air. A Class 2 loss is typically a spreading floor-level event where the wetting climbs part way up the walls; a Class 3 loss has soaked the assembly from the ceiling down, so the wet surface area is far larger relative to the volume of the space.
That shows up immediately in your first psychrometric readings. A room where the ceiling cavity is saturated will hold its grain count stubbornly high even with good airflow, because the reservoir feeding evaporation is bigger than what you can see. If your affected-space grains barely move over the first readings, treat that as evidence about the class of loss rather than a fault in the equipment.
Why does overhead water change everything?
Water from above finds cavities, and cavities dry slowly and invisibly. A ceiling that has been rained on from a burst pipe holds water in insulation, on the top face of the drywall, in the joist bays and in the wall assemblies the water ran down.
It also changes the safety picture before it changes the drying picture. Saturated ceiling assemblies are heavy and can fail, light fittings become an electrical hazard, and any material disturbed overhead sends debris and moisture into occupied space below. The first documented decisions on a Class 3 loss are usually about isolating power and controlling access, not about equipment counts.
Test yourself
Category and class questions look easy until two of the four answers are almost right. Answer the questions before you look anything up — the gap between what you can recall and what you can recognise is the gap that shows up on exam day.
How is a Class 3 loss dried?
The sequence is the same as every other water loss — remove bulk water, control the environment, encourage evaporation, remove the vapour — but the volume of each step is larger. The principles behind that sequence, and why order matters, are covered in the structural drying guide.
The judgement call unique to Class 3 is how much of the ceiling and wall assembly stays. Wet cellulose or fibreglass insulation trapped above a ceiling is rarely worth drying in place, and leaving it turns a controllable evaporation load into an open-ended one. Removing the insulation and opening the cavity often shortens the job enough to pay for itself, and it makes every subsequent reading meaningful because you are measuring materials you can actually reach.
What does the equipment picture look like?
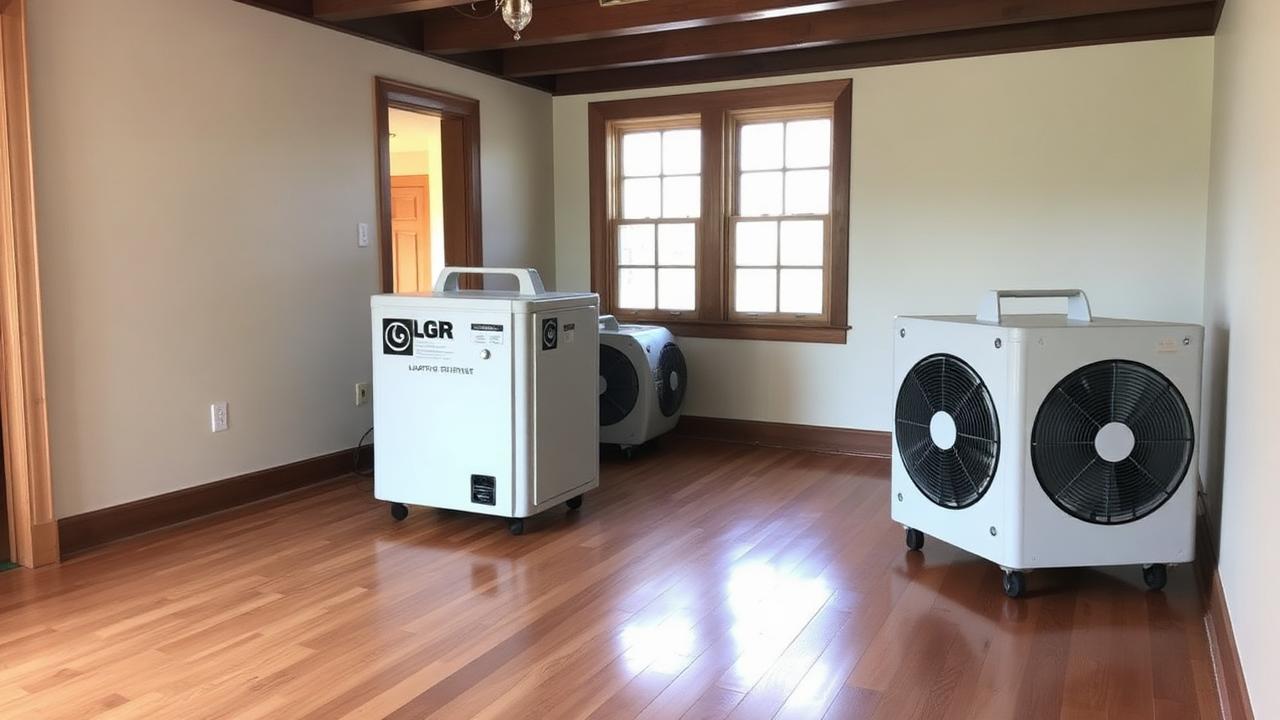
More wet surface area means more evaporation, and more evaporation means the dehumidification has to keep up or you are simply moving water around the building. Airflow without matching dehumidification on a Class 3 loss raises humidity in adjacent unaffected areas and creates secondary damage you will be asked to explain later.
Size the dehumidification to the space and the load rather than to habit, and check the grain depression between intake and exhaust every visit — that number tells you whether the machine is still doing useful work. The dehumidifier sizing tab of the GPP calculator and the psychrometric chart both take the readings you are already collecting.
What has to be documented?
The class determination itself, the affected assemblies, and a daily record showing the drying is progressing. A Class 3 file that shows only floor readings invites the question of what was happening in the ceiling, and that question is much harder to answer three weeks later.
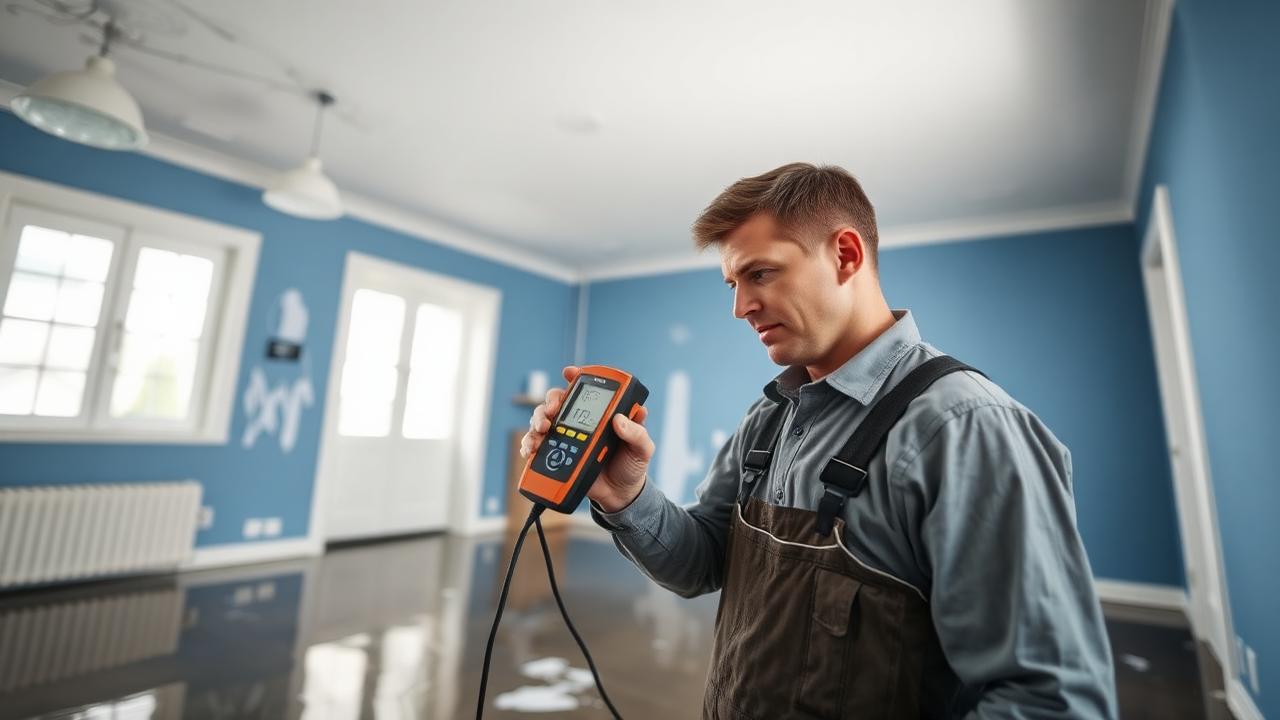
Log outside, unaffected, affected and dehumidifier readings on every visit, map moisture points against a dry standard taken from an unaffected assembly of the same material, and photograph the cavity before it is closed up. The free drying log template keeps the psychrometrics and the moisture points in one printable record.
New study material by email
New study guides, tools and practice questions, sent as they are published.
No spam. Unsubscribe anytime.
Related Articles

Ready to Pass the WRT Exam?
300+ practice questions, psychrometric calculators for drying, and study modules built by restoration pros.
Need the standard itself? Purchase the ANSI/IICRC S500 →